Universal Back-Plunger Dial Indicator, Starrett
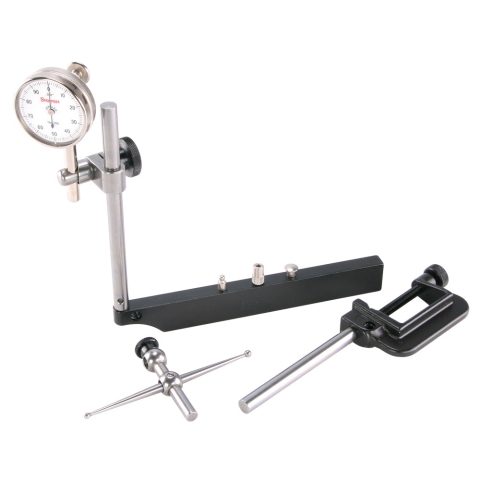
- Starrett Back-Plunger Dial Indicator
- Starrett catalog number 196A1Z
- 0-100 with 3 contact points, adapter, 4 attachments in case
- Accurate and reliable
- Rugged, with few moving parts
The Starrett No. 196 Indicator is one of the most versatile indicators available, and it is the "granddaddy" of them all. Over the years this tool has been improved by methods and materials but the basic design is unchanged. The design is older than most of you and has withstood the test of time and beaten all challengers because it is:
Accurate and reliable
Simple to operate
Rugged, with few moving parts
Smooth in operation
Inexpensive - the best indicator value you can buy
This indicator with graduations to .001" will handle by far the majority of jobs. Shank diameter is 1/4" (6.3 mm).
For full use, first choose the proper contact from the three hardened contact points that are included. Then the contact is brought against the work with enough pressure to give the hand one full turn. Set the hand at zero by rotating the dial with the knurled bezel. This provides one full rotation of the hand both to the right and left of zero, showing a rise or drop in the work and the amount of that variation.
The bar is 0.750" tall, 0.375" wide and 6" long.
 Chris' Tips
An indicator is only useful when the tip is bearing against a surface to be measured. The action of pressing the tip against the surface moves the needle, also to some random position. But this position is relevant; turn the bezel so that the needle is pointing at zero. Now you can make measurements, both positive and negative, relative to the starting position.
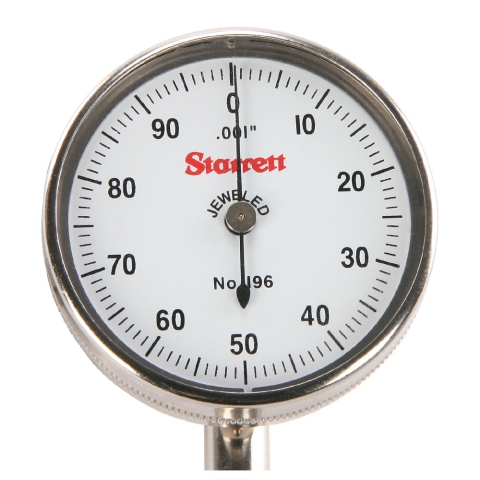 |
Indicator Face |
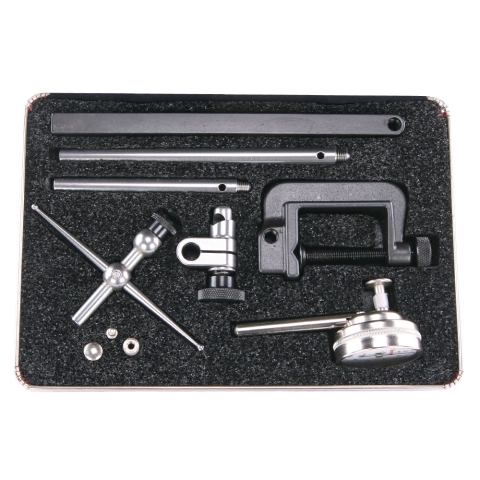 |
Contents in Case |


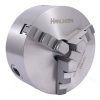 Lathe Chuck, 3-Jaw 3" Premium, Harlingen
